The world looks different from the air, and aerial photography thus offers
some unique photo opportunities.
If you're not a pilot, probably the best way to get aerial photos through
a flight school at your local general-aviation airport. Training planes can
fly fairly slowly, and the instructors will be familiar with the area's
airspace, and experienced at flying from either front seat (with some planes,
only the window on the pilot's side can be opened).
High-wing airplanes are generally considered best for aerial photography, because
the wing is above the cockpit, out of the way when you're shooting downward.
However, most high-wing planes have wing struts, and many have fixed landing
gear, both of which can get in the way. You can work around wings, struts and
landing gear--I've done nearly all of my aerial photography from
a low-wing plane, by aiming the camera midway between the wing and the nose
of the plane. Sit in the airplane you're going to use on the ground, open
the window, and try different camera positions and lens focal lengths to see
what will work best with that particular aircraft.
More important than wing configuration is that you can open a window in-flight,
so you don't have to shoot through the plexiglass. Shooting through the
plastic will result in reflections, decreased sharpness, and a color cast if
the plastic is tinted. If you can't open the window, move the camera as
close to it as you can without touching it, and shoot straight through the window,
not at an angle to it. It's also a good idea to wear black clothing and
use a black cloth to minimize cockpit reflections. Don't let the lens
touch the window, frame or other part of the aircraft--vibrations will
be transferred to the camera, causing unsharp images. And don't stick
the lens outside the plane--the rushing air can pull the camera right out
of your hands, and will almost certainly tear off the lens hood.
If you are a pilot, remember that your first job is "pilot." Fly
the plane, and watch for traffic. When you arrive at the target area, slow the
plane to a safe speed, trim it for hands-off flight at that speed, check the
area for traffic, take a shot, check for traffic again, check airspeed and altitude,
take another shot, etc. Don't get so involved in shooting that you stall
the plane or forget to check for traffic.
I have the large advantage of being the pilot on my aerial photo flights, so
I can just fly the plane where I want it for each shot. If you go up as passenger,
discuss beforehand with the pilot what you want to do, and establish a communication
system. An intercom with headsets is invaluable here--it's noisy
in flight, especially with a window open.
Don't look through the camera for long periods of time in flight, especially
while the aircraft is turning--you'll likely get airsick. When you
spot a subject, have the pilot maneuver the plane into position, then bring
the camera up to your eye and take the shot.
It can get cold aloft with the window open. Consider the temperature (it usually
gets colder the higher up you go), and dress accordingly.
When photographing subjects on the ground, use manual-focus mode and set focus
at infinity, then tape the focusing ring there so it doesn't accidentally
move.
While I do most of my shooting these days with digital SLRs, I still prefer
film for aerial work--generally Kodak Ektachrome E100VS or Fujichrome Provia
100F or Velvia 100F, all pushed a stop to EI 200 to provide faster shutter speeds
and more contrast. Aerial photos generally lack contrast and color saturation,
due to the haze between camera and subject--you'll be at least 500
feet from subjects on the ground (1000 feet in populated areas), and I'm
often shooting from several thousand feet up during cross-country flights. If
I need more speed, Fujichrome Provia 400F is the finest-grained high-speed slide
film, and I also use Ektachrome E200 pushed to EI 400 or 800 at times.
A polarizing filter can help cut through haze (but not smog, which actually
consists of particulate matter) and improve contrast, but I rarely use one.
1. The Best Time
As with all photography, lighting is a big factor. For aerial photography, the
lighting is best early and late in the day, when the low-angle sun creates long,
dramatic shadows. Ideally, you also want a clear and smooth day, because hazy
weather makes for murky photos, and turbulence causes image blur and missed
compositions. Unfortunately, clear days are generally that way because of strong
winds, and strong winds make for bumpy flights. I've got a few good shots
on bumpy days (also a lecture from air traffic control when I accidentally keyed
the yoke-mount microphone button as a strong gust hit just as I shot, causing
me to blow blew yet another composition, and I apparently muttered something
untoward). If you're up there and see something good to shoot, by all
means, shoot it; but I wouldn't deliberately set out on an aerial photo
flight on a bumpy or hazy day.
|
|
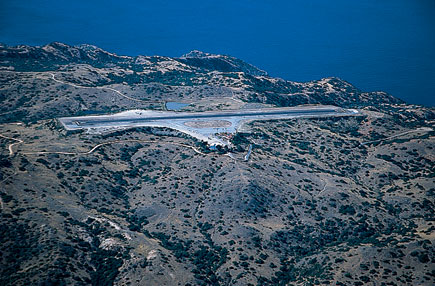 |
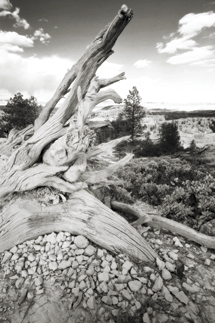
Aerial photography is basically landscape photography, and the
lighting is best early and late in the day, when the sun's
light is warm and shadows are long (top). Midday sun
produces
flat lighting that's good for record shots, but pretty dull
(bottom).
|
|










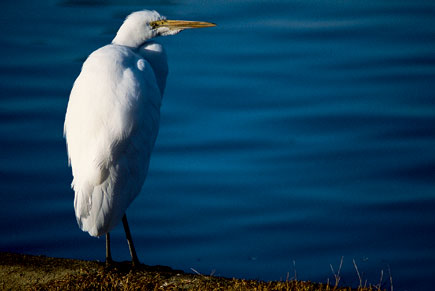
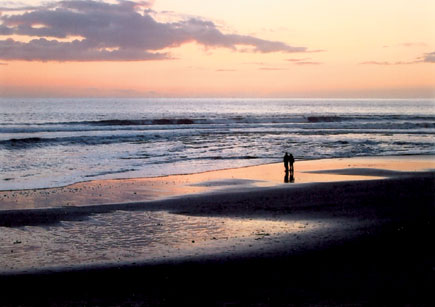


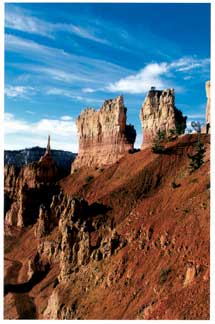

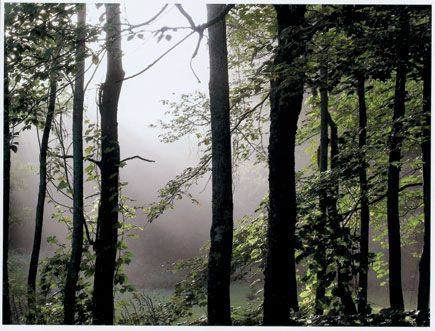
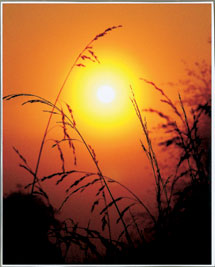


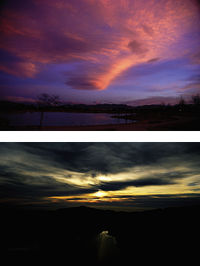 1 Sun Comes Up, Sun Goes Down . . .
 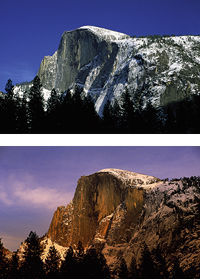 2 Different Times of Day
 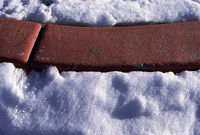 3 White Is White
  4 A Touch of Color
  1. Keep your camera cold. Although it is tempting, don’t put your
camera under your jacket. Warming and cooling your camera will cause
condensation and render your camera unusable. It is easier to brush
falling snow off a cold camera as well. Falling snow on a warm camera
makes for first a wet, then a frozen mess. But don’t don’t try to blow
snow off your camera with your breath! This too can cause a frozen
condensated mess. I have learned all these things the hard way.
